Base maps
Integrating tabaqat in ArcGIS with WMTS and XYZ
Estimated reading time : 3 minutes
Getting started
The following tutorial was created using the latest version of ArcGIS ArcMap Desktop. The process is however the same for versions 10.0 and newer. Thanks to these instructions, you could use WMTS to manipulate your different map layers in ArcGIS ArcMap.
Retrieve data
The WMTS endpoint provided by tabaqat is very simple :
https://basemaps.tabaqat.net/YOUR_STYLE_ID/wmts?access-token=YOUR_ACCESS_TOKEN
You just need to replace YOUR_ACCESS_TOKEN by your real access token that you can find in your account and YOUR_STYLE_ID by your style ID. You can find your style id in Keys section:
Tutorial
Step 1
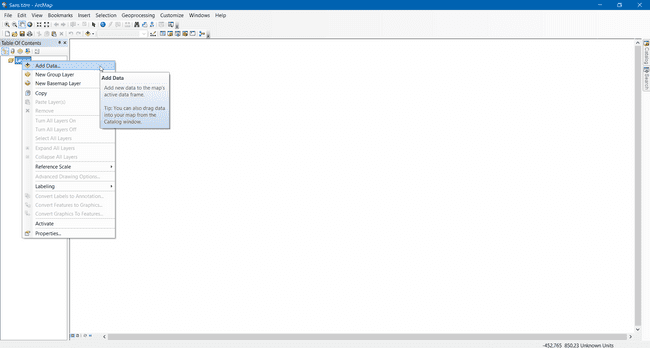
To import WMTS file layers in ArcMap, right-click on the Layer item on the left panel menu then Add Data...
Step 2
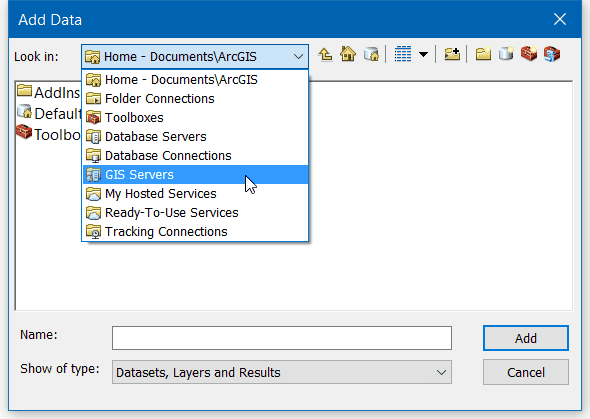
In the new opened window, click on the dropdown list and select the GIS Servers item.
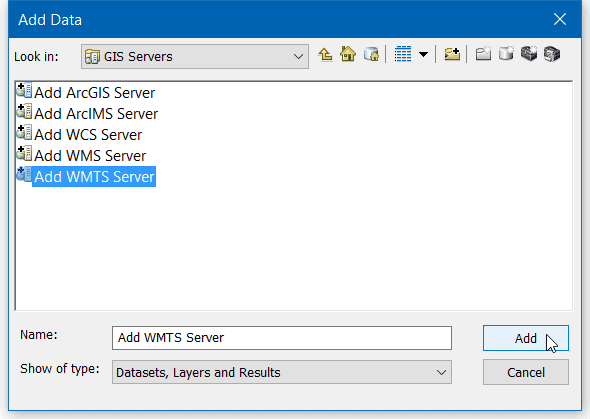
The window is refreshed and you can double-click on Add WMTS Server... or select the item and click Add to create a new data source for ArcMap.
Step 3
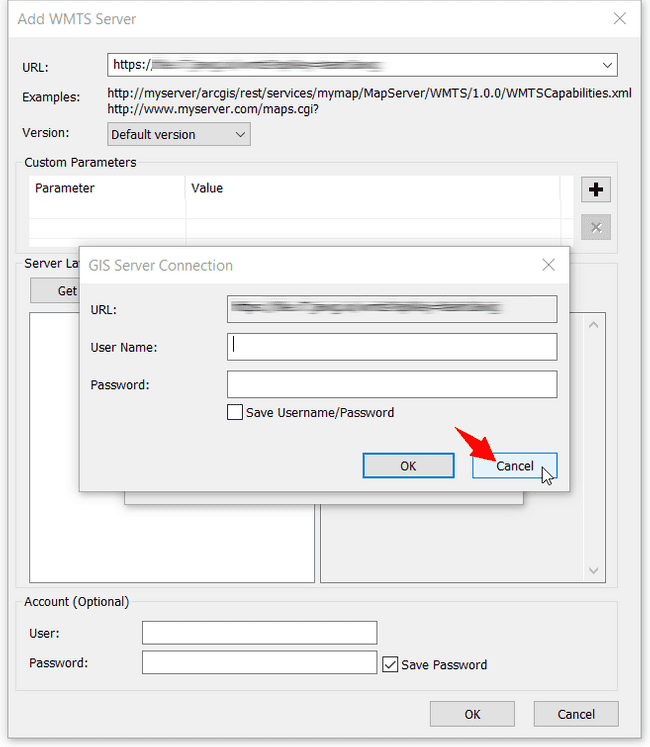
A new window opens with settings to configure. Paste the link of your WMTS access in the first input then click on Get Layers to retrieve the WMTS data.
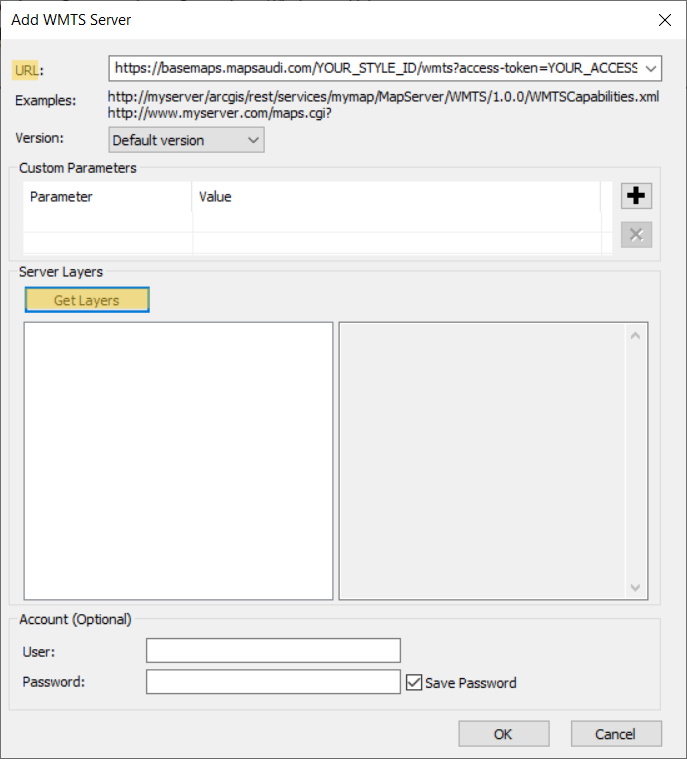
A window will appear to ask you for a login and a password, just click Cancel to connect without login. Click OK to accept the changes and close the settings window.
Step 4
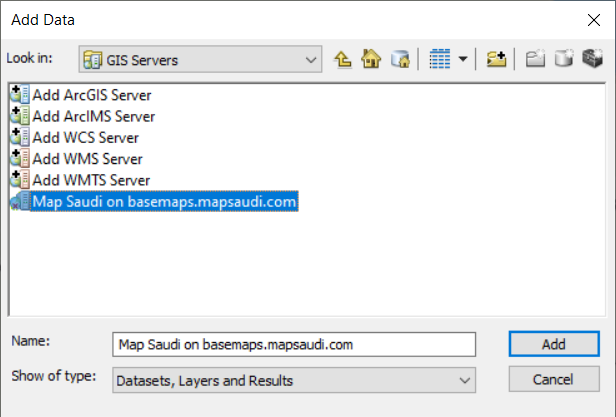
Once your WMTS server is added, double-click on the server name you've just created.
Do not click on "Add" it won't connect to your server!
Step 5
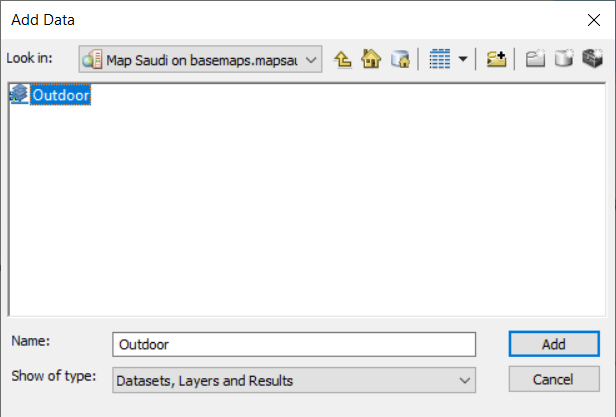
In the next view, you will be able to see the layers of your WMTS freshly imported from the web. Double-click on the layer you want to use in ArcMap.
And take a look at the result!
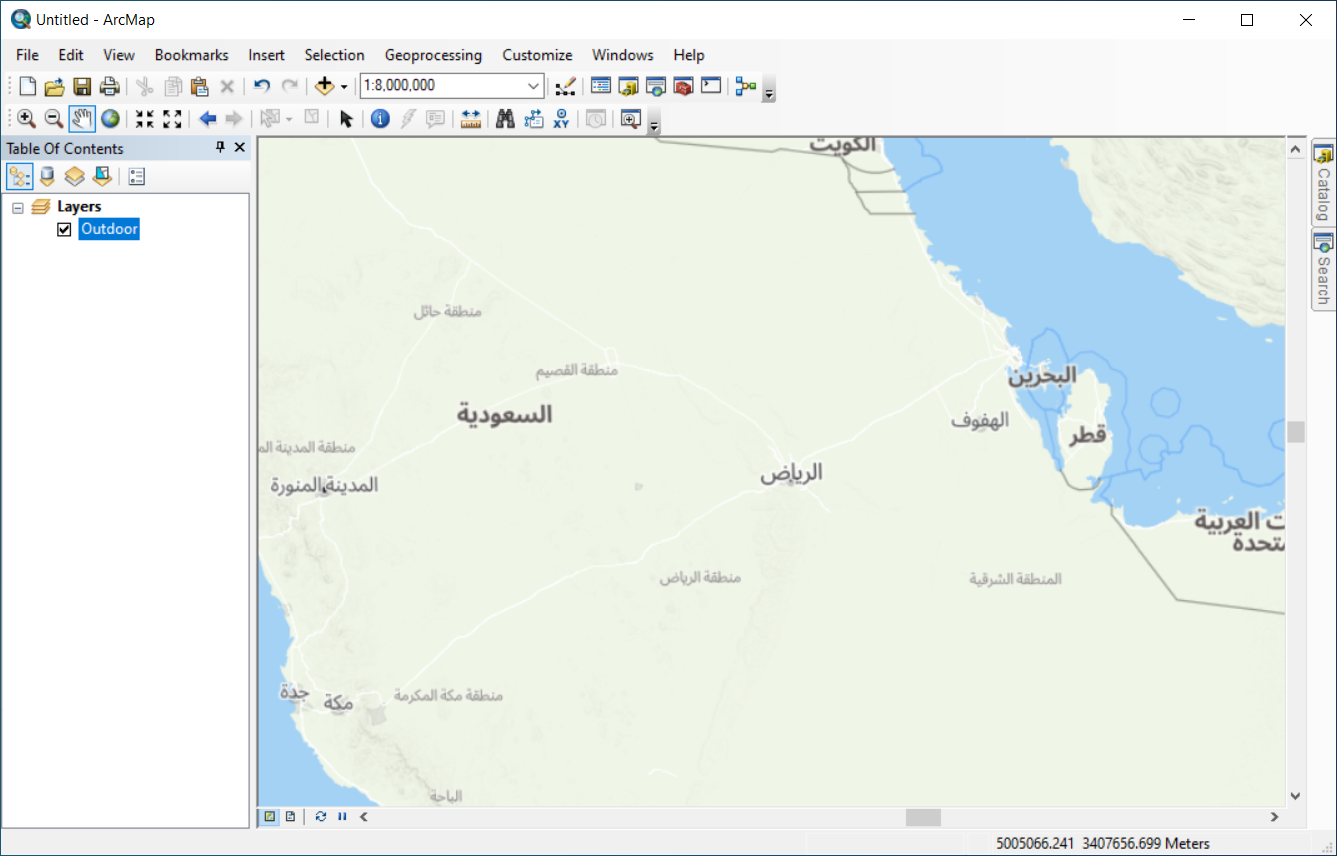
We hope that this tutorial was very helpful!